Adding Tasks
There are several places you can add tasks.
Checklists in an Article
If an article has a Checklist added, then when the user clicks that checklist entry, it will automatically create a task under the article, with sub-tasks for each checklist entry. Those checklist entries will typically be assigned to either the user who originated the checklist, or to specific users that the checklist entries are assigned to.
Meta Tasks in Articles
As well as checklists, pages themselves can also have "To-Do" tasks added. These can be added as a reminder for a policy expiration or review cadence, for example.
To add one or more to-do items (tasks) under a page such as a policy article, click the action menu dropdown and click "Add To-Do".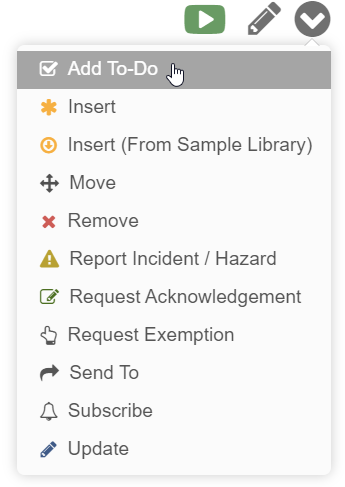
By default, tasks added to an article will be assigned to the current user. But this can be edited in the "Assign to User" box, where you can select other users to assign the task to. You can also assign the task to a group, by selecting the user group in the "Assign to Group" box. When assigned to a group, all users in that group will see the task as assigned to them, and any of them can complete it (or reassign it to themselves to work on alone).
When a task is assigned to that user, they will see the article highlighted in red and a message at the top of the article with a link to the task list.
This is a useful feature when you want someone to make a modification to an article. You can create a task, put in a description of what needs to be done, and then assign it to the user.
Task Options
When adding a task or a To-Do item on a page, you'll see the same kind of form:
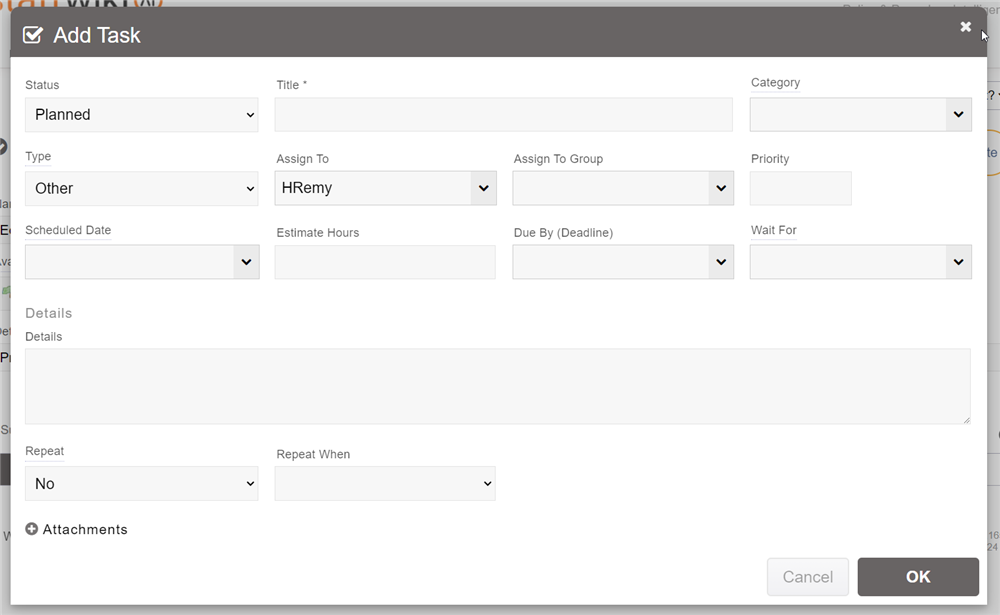
We'll run through the settings in that form.
Status: This is the status of the task. The default is Planned, meaning it is currently planned to be worked on. The other options are mostly self-explanatory. Checking means that the work has been complete but it needs to be checked before it can be completed. On Hold means the work has been temporarily suspended. The "Won't Do" option means that the task is recorded, but there are no plans to actually do the work.
Title: This is the short title of the task.
Assign To: Here you can optionally assign the task to a specific user. Once assigned they will receive an email with a link back to the task, and the task will be highlighted in red (along with the page, ticket or asset where the task is located).
Priority: This is the priority of the task, which determines its order in the list. The lowest priority is 1, and there is no limit to the highest priority.
Scheduled Date: If you want the task to be assigned in the future, then specify a date here. Once the date comes about, the task will automatically be assigned.
Estimate Hours: The number of hours estimated remaining on the task. For information purposes.
Due By: The date that the task should be completed by.
Wait For: Lets you specify another task in the same task list that this task will wait for. Once that task is completed, then this task will be assigned.
Details: An area to provide more details about the task.
Repeat: If specified, makes the task recur (become reassigned, and marked as incomplete) when either complete or scheduled, at the specified frequency.
In addition to these settings you can also add Subtasks under the task, and those can have subtasks to create a fully organized project plan.

Each subtask can be assigned independently. Once all subtasks are complete, the parent task will automatically be marked as complete.
In a Ticket
To add a task under a ticket, once you have the ticket open go to the What's Next button and click "Add Task".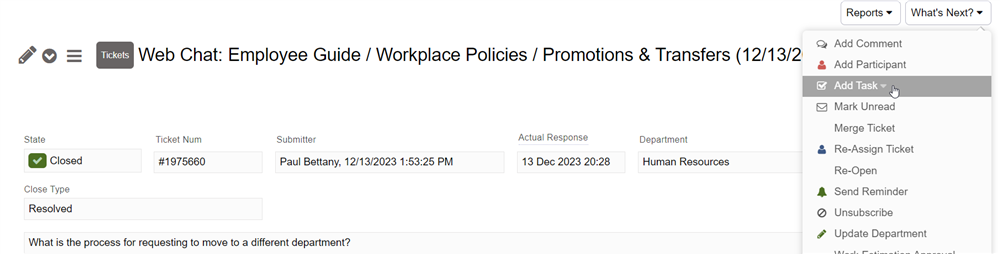
Once the task is assigned to a user, they will be able to view the ticket which will be highlighted in red, and see the Tasks tab underneath the ticket which will also be highlighted in red. 
Once the task is completed the assignment will be removed.
Having tasks under a ticket can be useful for project-based tickets, and also for investigations that stem from an incident report.
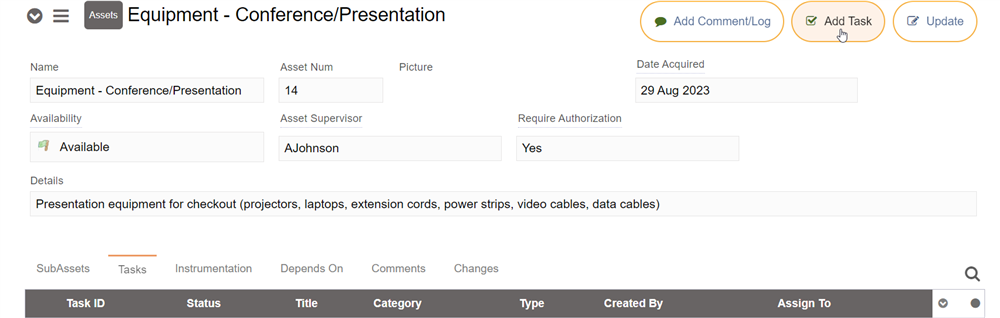
Under an Asset
On the Assets tab you can select an asset (which can be any kind of asset your organization manages), under that you will see the Tasks tab. Click that and you can enter in the task by clicking "+" or by entering the task title in the Quick Entry line.