Commenting on Tickets
There are a few ways to comment on a ticket.
The first is through the web site. When you're looking at the list of tickets, click on a ticket and then you'll see an area underneath the ticket details where you can enter a comment. 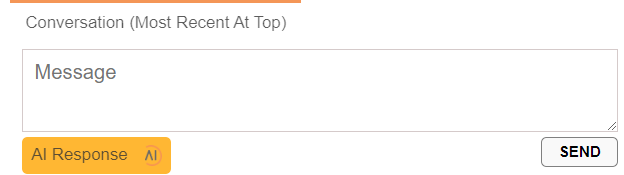
You can just enter text in the comment box, and either click Send, or press Shift+Enter to send from the keyboard.
If you're a support staff member, then when entering in a comment there, you can also mention other staff members to bring them in to the conversation. To do this you just put the at symbol before their user ID (example, @user). This will then send them an email and add them as a participant in the ticket, so they'll see it in their ticket list.
Another way to add a comment is to use the "Add Comment" button at the top right of the ticket. 
This will open an Add Comment form: 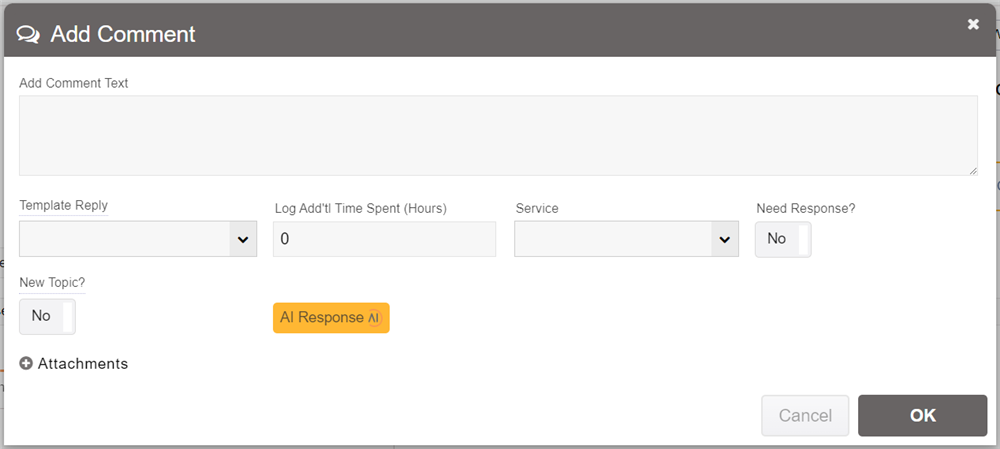
Firstly, the "Template Reply" option gives you a dropdown to select from a list of template message replies, which can be defined in the Department settings in the Configuration tab. You can select the template reply here, and then edit it in the comment box above.
You can also log any time spent on the response. This can be useful for recording work on a particular ticket, which can be used for billing. When you log time you can also specify the type of service that you were performing, which is used in billing to determine the cost code to use.
The "Need Response" setting lets you indicate that you are waiting for a response. This, for instance, stops the ticket from being automatically closed if it's already answered. It also indicates that a response is required in the email that is sent out, making it clear to the user that you need to respond and not just read the email.
Using the "Add Comment" form you can also add attachments by expanding the Attachments option. You can add any number of attachments.
We'll discuss the AI response option in the next section.