Upgrading to a New Version
Staff.Wiki is updated frequently with new version releases that often provide new features, bug fixes and other enhancements.
So long as you are licensed to continue receiving upgrades, you can install the new release using the instructions in this section. New releases may be called major releases, minor releases, patches or hotfixes.
Releases can be installed on any edition: Cloud, Professional or Enterprise. The same installation ID is used for all three editions.
Steps To Install an Update
1. First, make a note of the version number at the bottom right of the screen. This may be needed in case you want to revert to that version.
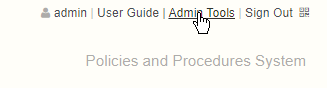
2. When logged in as an administrator, go to Admin Tools (top-right corner), then expand Functions and then click on System Update.

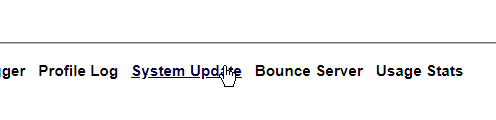
3. Then click the HotFix button, enter in the name of the hotfix, patch or release provided to you by WorkflowFirst, and click OK. For example, the install ID might be something like sw_800 
4. You will be given a warning and then you can proceed. It will then download, unzip and install the new release for you.
You can also downgrade to a previous release so long as you have the hotfix ID. Simply perform the same instructions but use the old hotfix ID, and it will downgrade accordingly.
Note: If you downgrade, any new features you were using will no longer be available. This may also result in data lost in any new configuration options.
Also: Please note that it is important to test updates prior to installing a release, especially if you have a lot of users. If you do not have a sandbox system, you can always sign up for a free trial on https://staff.wiki and install the update onto there first. However, you can downgrade to the previous release quite easily by installing the previous hotfix or install ID.
Manually Installing Updates
In some cases you may decide to install updates to the system manually, rather than using the System Update function above. This can provide more control over what is downloaded and which files are replaced. Please follow the instructions below to install the update manually:
- First, locate the installation folder. You can usually find this by going to IIS, going to the Site, and clicking Basic Settings and noting the folder in there.
- Backup the existing folder by zipping or copying the folder to a different location.
- Note the hotfix ID. This will be the filename of the patch file which you must download. Download the file from:
http://myworkflowfirst.com/installs/[hotfix_id].zip
eg. http://myworkflowfirst.com/installs/sw800.zip - Once this is downloaded, you can copy the following folders from the zip file to the installation folder:
App_Code
Files
bin - Once these files are copied, the system should restart automatically and will perform any database upgrades as part of the startup. This may take 30 seconds or so, so please be patient.
- If there is a failure and you need to revert to the previous version, simply copy the backup folder back to the installation folder and notify support of the issue.
Note: Some on-premise installations have reported an issue with upgrading where the system will go to a white screen with an ASP error at startup. Please check the bin folder of your installation and ensure there is no evohtmltopdf.dll in that folder (it should be in the parent folder). If there is a copy in the bin folder, please delete it. Then restart and it should come up successfully.