Time Keeping
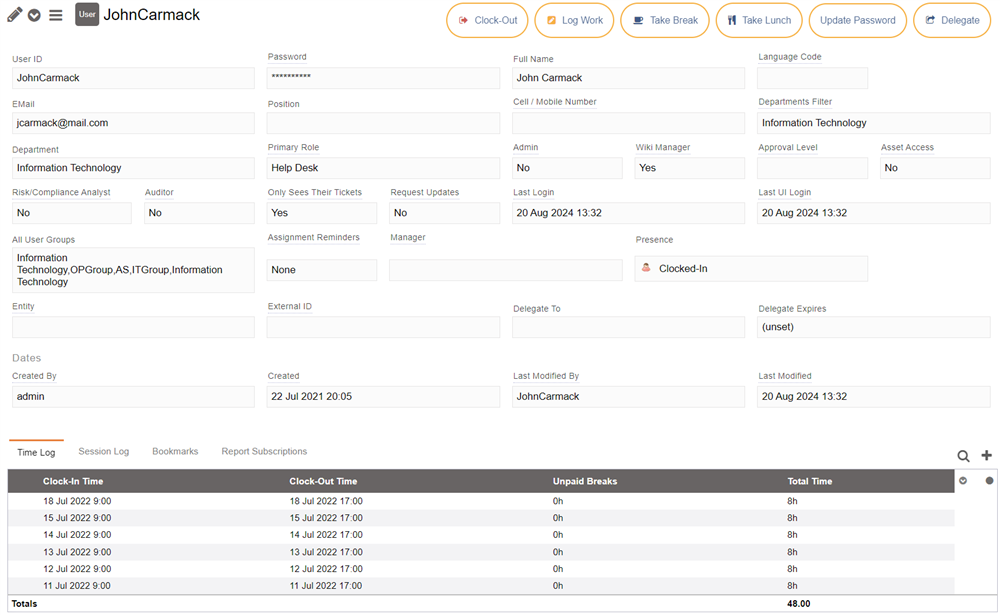
Employee time-tracking can be recorded directly within our platform. Employees can mark when they've arrived or left, the time and length of their breaks, in addition to recording work logs. This feature is found in the User tab for every user.
Note: The Clock In/Out functionality can be disabled (hidden) through the Disable Clock-In setting in the Configuration tab under Main Settings.
Presence
The Presence field in a user's profile record will show you whether they are currently clocked-in or on break, based on the actions they have taken. This can be useful to check if another user is currently available.
Clock-In
When users arrive for the day, they should go to their User tab and click the "Clock-In" button. This will mark them as arrived. Optionally it will send a notification to Microsoft Teams or Slack with a message that they have arrived for all their team members to see.
Take Break
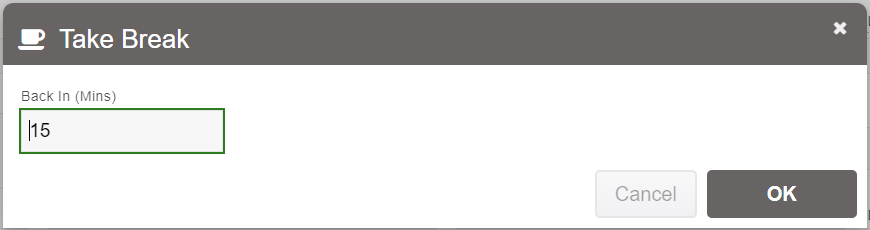
When a user needs to step away, they can let others know by clicking "Take Break" on the User tab. This will give them an option to specify how long they expect to be, which defaults to 15 minutes. This also optionally sends a notification to Microsoft Teams or Slack to let their team members know they are away. This does not "stop the clock", and the time away will be added to the total time logged.
Back From Break
When a user returns from their break, they will click the "Back From Break" button. The actual time this happens will be recorded. This also optionally sends a notification to Microsoft Teams or Slack to let their team members know they have returned from their break.
Take Lunch
Similarly to breaks, users can signify if they are away for lunch by clicking the "Take Lunch" button. The form will default to 60 minutes but is editable. The amount of time entered is meant to display to user managers the length of time you intend to be away. Time taken for lunch is not included in the total time logged. 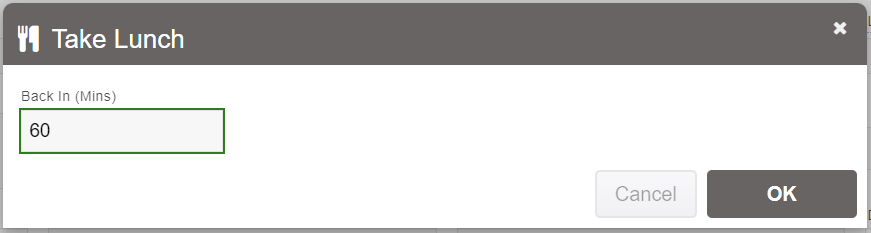
Back From Lunch
Users can indicate their return from lunch breaks with the "Back From Lunch" button. The time will be recorded and time span calculated. Additionally, lunch breaks count as unpaid breaks and will be automatically deducted from "Total Time" in the "Time Log".
Clock-Out
When a user has finished their day at work and is ready to leave, they will use the "Clock-Out" button to indicate they are no longer available. This will calculate the hours and minutes they were present (excluding breaks). You an also optionally specify a short description of any work accomplished that day, which will be recorded within the work log. 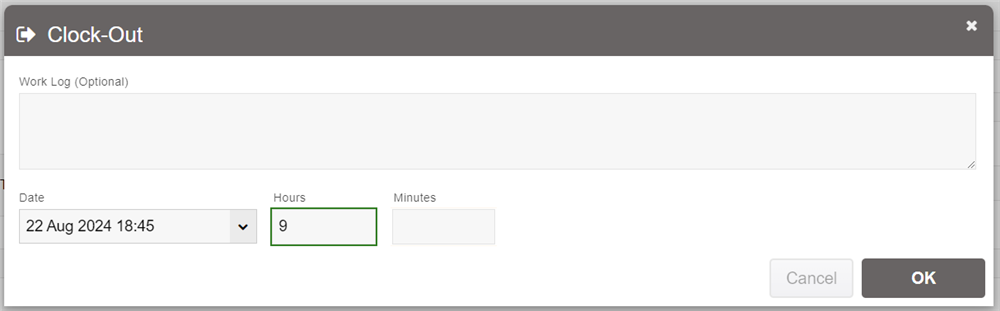
If you forget to clock-out the previous day, you can start the day by clicking "Clock-Out" and changing the date to be the previous day and time instead. After you do this, you can "Clock-In" as usual.
Log Work
Encouraging team members to keep a daily record of work completed can be a useful way to motivate people to be productive, and to ensure everyone is working on what was intended.
A user can log work at any time during the day, multiple times for one day if required. They can do this by clicking the "Log Work" button. Optionally this can be sent to a Microsoft Teams or Slack channel to notify other team members. 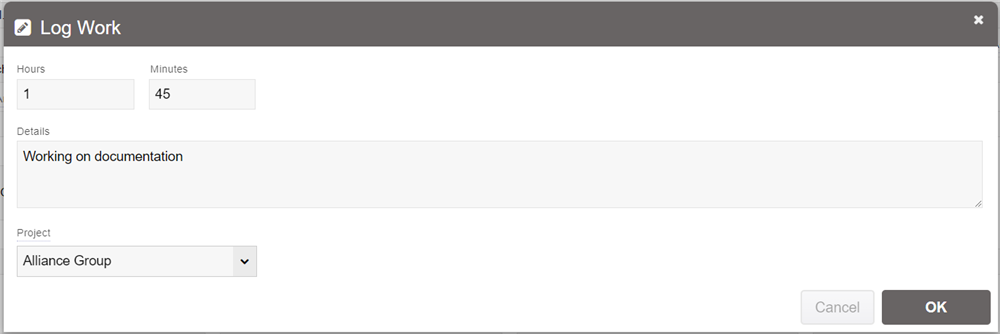
In this form you can also select a project to relate to the work that is logged. The project can be defined by going to the Work Log Projects section under the Configuration tab (you must be admin to edit this list). You can also create sub-projects in that list, in a hierarchy.
The information stored in the Time Log can be accessed underneath a user record, in the Time Log tab.

You can also print out reports of time logged per project. Two reports are available (can also be accessed in the dashboard under "User Work Log" and "User Work Log by Project"), let you print out work logs with some optional filters. The User Work Log By Project report lets you provide a flat list of all work for a specific project between two dates. This can then be used in Excel (either copy/paste the report contents or use the Excel Qry option under the report in the Reports menu when in Explore mode).
Admin controls
Only the user themselves can change their presence using the buttons mentioned above. However, an administrator also has access to these buttons for any user, in case they need to override a setting for the situation where a user may not be able to do so themselves. Additionally, admins can edit clock-in/clock-out times and whether or not a break counts as an unpaid break.