Checklists and Workflow
Any article can also incorporate interactive checklists. At a basic level these can be useful to just track your organization's procedures as they're executed, so there's a full audit trail of those procedures being followed.
But they also allow for more advanced functionality: They can collect information from users. They can also be used to implement workflow, transferring and requesting information from one user to another, getting approvals, reporting incidents, and assigning different checklists in parallel. Checklists can also feed data into a list that can be searched or exported to Excel for analysis.
We'll be covering these features in this section.
Tip: You can also incorporate checklists into certificates for training courses.

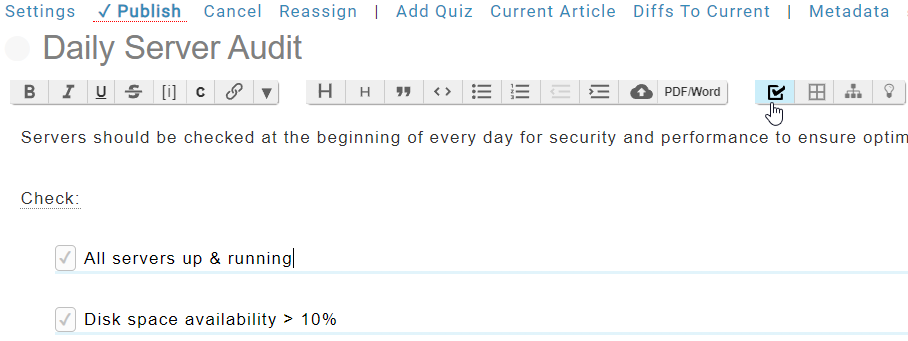
You can add checklists to your page simply by clicking the checklist button in the text editor when inserting or updating articles to add, or convert text to, a checklist item.
Note: You can also start a second checklist while the first one is still outstanding. A link appears at the top so you can start another checklist. The existing checklist will still be accessible in the task window on the right side.

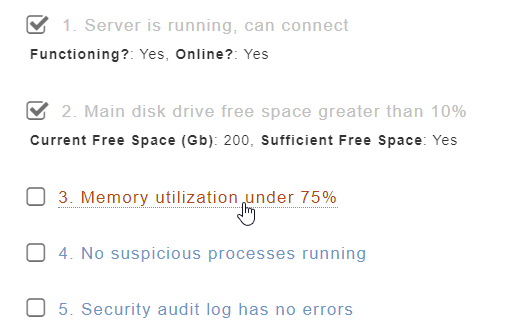
When committed, this will appear as a link that, once clicked, will mark that checklist entry as complete. It will first pop-up a form to the user where they can enter in some notes, a value, or fill out a form, and this will appear in the page next to the complete checklist entry.
We'll discuss the various options in the sections below.
Note: By default checklists are per-user. When you start checking off items, they will only be checked off for you. If another user goes to the page they will not see you checking off items. To change this, update the page and in the Settings form change the Checklists type to be Shared, or Objectives.
At the end of each started checklist entry there is a link that can take you to the task record for that checklist entry. From this you can assign the individual task to other users, schedule it for a certain date, add sub-tasks and all the other features available in Task Management.
You can also use the checklist feature to manage your organizations Objectives. For more information on doing this, please visit our section on Objectives.
Finished Checklists / Floating Task Window
When completing the last checklist entry, a message will appear at the top that lets you start again. Upon completion, any users who have subscribed to an article will be notified.
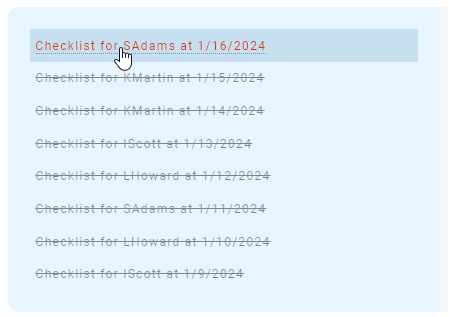
In addition, all current and past checklists associated with an article are now shown in a floating window when viewing the article. Checklists assigned to you will be highlighted in red in that list. Clicking entries will take you to that checklist.
Note: You can change the title of the checklist that is displayed here, by setting fields in your form to have "Use In Title" as Yes. More information can be found here. 
